top of page

ree

Hi friends! I'm glad you're here. Today, I'm sharing a card that you can give to the graduates or even to students who are finishing this school year. I made it using several products from Oddball Art Co. I used CCC#135 Makers Gonna Make Digi Stamp, CCC April Members Exclusive Bunny Kisses 2021, and CCC # 17 Back to School.


ree

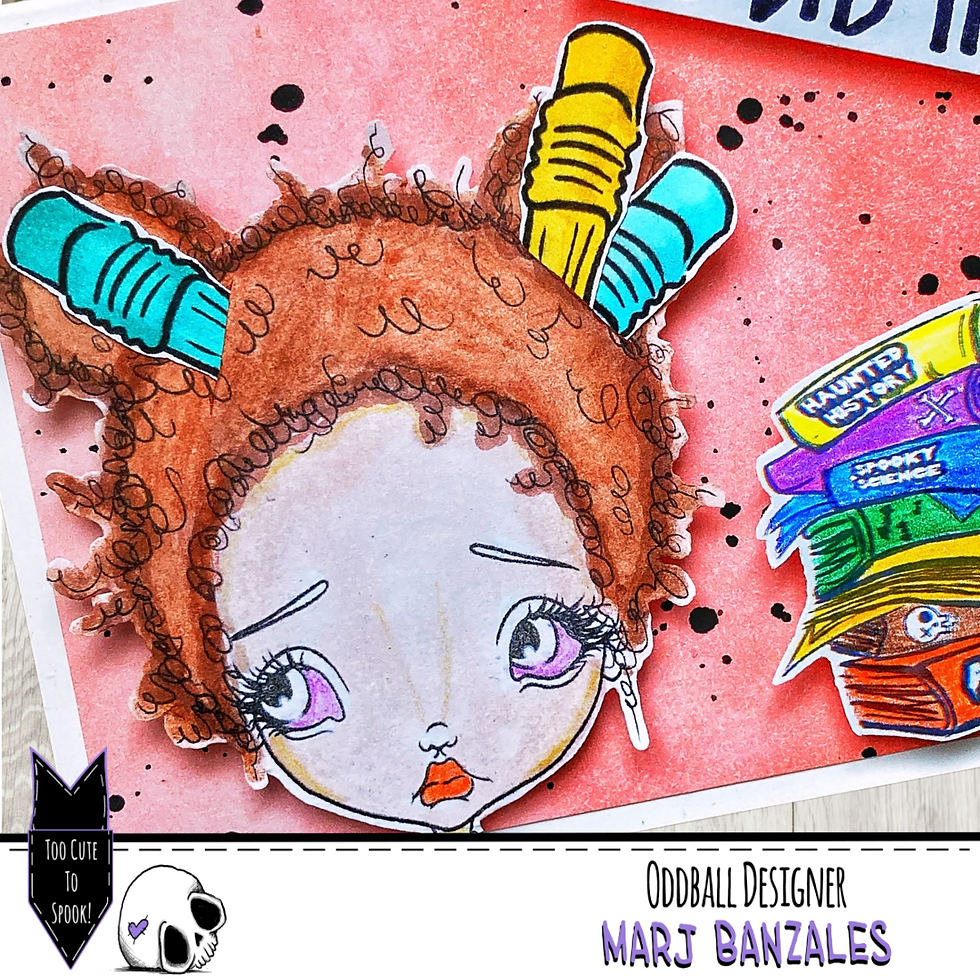
For this card, I started printing all the digis and colored them using Arteza Ever Blend Markers and Colored pencils. I sometimes combined them to pop up the color.

ree

Once done coloring, I fussy cut them and arranged them in the order I wanted to show on the card. Then, I used the press and seal to make sure when I add it to my card base it will be the same way as I arranged them.

ree

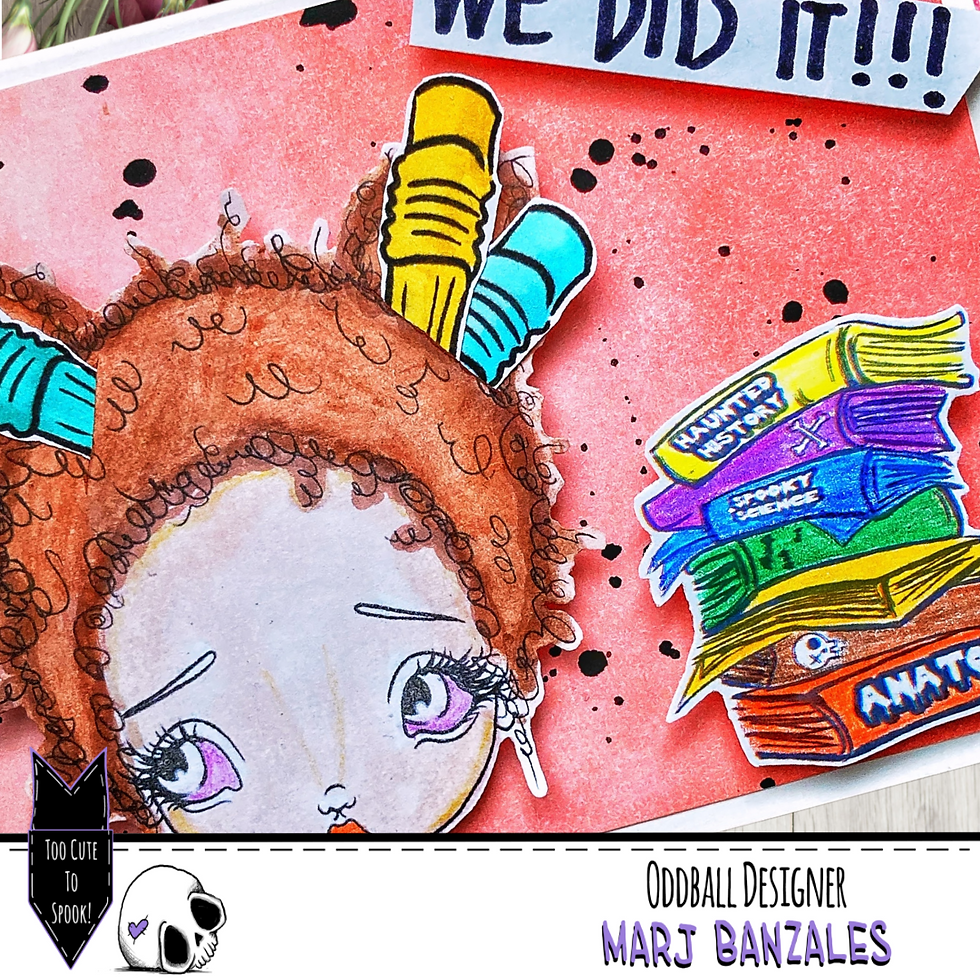
Then, I started on my background. I love ink blending which some of my cards you see have ink blended background. I first cut white cardstock to 4x5.25 inches. Next, I started blending Carnival Pink, after that is Pink Lemonade, and last is Ballet Slipper.

ree

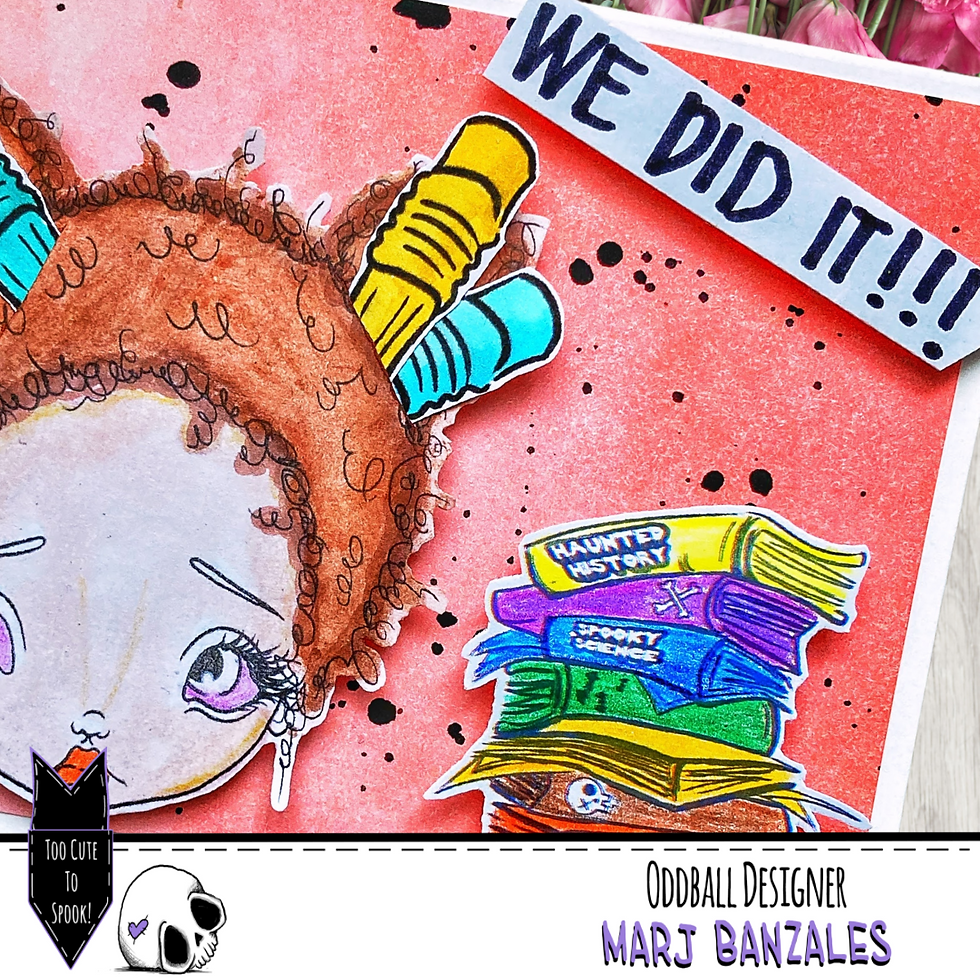
All the ink are from Scrapbook.com. I used an ink blending tool to make sure to blend well and no streaks after each color.Then, I took some black paint and splatter it all over to make some dimension.

ree

To assemble the card, I adhered the background to an A2 card base using double sided tape. Then, added all the images from the press and seal in one shot using some foam tape for dimension. For the sentiment, I wrote WE DID IT!

This is an appropriate way to Congratulate the students who made it even with what is going on right now. We are done!


I hope you like what I made today. Come and visit Oddball's Website to see some of the creepy and cute images. They also have amazing Ghoul Plans starting $2 a month.


Thank you for stopping by and I'll see you again next time.


XOXO

Marj


Supplies Used:


Want to find the products I used? I have listed them below. I used compensated affiliate links which means I will receive a small commission at no cost to you. Thank you for your support! All products were personally purchased except the Oddball Stamps. Click on the icons below each product picture to go to the store.


ree

Hi friends, Marj here! I'm glad you're here. Today, I'll be sharing another card using the beautiful Spring Rose from the Ray Of Sunshine Collection of Joy Clair Designs. This is such a gorgeous stamp set and I love it so much!


ree

Let's get started...

First, I started resizing my digital stamp. I find it easy to use the word document in arranging the digital stamp the way I want it. After that, I started printing it on white heavy cardstock. Then, I started coloring using my ultimate favorite alcohol marker, Arteza Ever Blend. To make it more beautiful, I added some sparkle using Spectrum Noir Berry Sparkle. It is so hard to see it but it is beautiful with some sparkle.


ree

Once done, I fussy cut and left a little white border as always. I normally do that to make it pop although it is really not necessary. No questions ask it is super gorgeous!!! Then, I started working on my background using Martha Stewart Adhesive laser Cut Stencil. I applied and combined Tim Holtz Rangers Distress Oxides Cracked Pistachio, Evergreen Bough, and Pine Needles. Honestly, I love how the combination turned out.


ree

Let's assemble the card...

I used an A2 card size as my base, then adhered the background using a strong double-sided adhesive from Scrapbook.com. Then, added the rose in the center. For my sentiment, I used You Make Me Proud from the You Make Me Proud Digital Stamps. This is also part of the Ray of Sunshine Collections. I die cut the word Proud on gray cardstock using my Cricut. I stack 5 die cuts for some dimension. Then, I handwrite the You Make Me for some added interest. To finish it off, I added a few Rhinestones.


ree

You will definitely love the whole collection so, I suggest getting it as everything on it are so beautiful. Don't forget to visit Joy Clair Designs.


Thank you for stopping by and I hope you learn a thing or two and were inspired.

FOLLOW ME

You can follow me at MarjBanzalesDesigns on Instagram and Facebook. Visit my website Handmade | MarjBanzalesDesigns (wixsite.com)


Supplies Used:


Want to find the products I used? I have listed them below. I used compensated affiliate links which means I will receive a small commission at no cost to you. Thank you for your support! All products were personally purchased except the Joy Clair Designs. which were received from the company with no expectation. Click on the icons below each product picture to go to the store.


ree

Hi friends! Happy Monday and hope you had a wonderful weekend! Today, I'll be sharing my first post for TLC Designs using this beautiful Digital Stamp Blessings. Isn't she beautiful? This image really caught my attention. She is so amazing even just plain white and black but more gorgeous when added with some colors.

ree

For my card, I used the amazing image from Blessings Digital Stamp and paired it with the sentiment that comes in the same set. This is such a lovely image and can also be used on any occasion.

ree

To make this card, I printed my image onto white cardstock, colored it using my Arteza Ever Blend Markers, and then fussy cut it. After coloring my image, I spritz with a combination of water and white perfect pearls for some sparkle.

ree

Then, I started working on my background using my handmade sunburst stencil. I used my handmade stencil because I accidentally threw out the one I purchased a few months ago. I started on top using Ranger's Distress Oxide Fossilized Amber, followed by Seedless Preserves, and lastly Worn Lipstick. I used a blending tool and made sure no streaks after each color application.

ree

To assemble this card, I created a standard A2 size card and used white cardstock for my card base. Then, I added the background piece I made. Next, I used some foam tape then added at the back of my image and then adhered it to the front of the card. For my sentiment, I printed it on white cardstock and added some foam tape, and then attached it below my image. For added interest, I add some flower sequins to head dress of the baby and some rhinestones here and there.


I love how this card turned out and I hope you were inspired to create your own.


To check some of the Digital Stamps and other products, please visit TLC Designs Shop.


Thank you for stopping by and I'll see you again next time.


XOXO

Marj


logo-firma.png
  • Instagram - Grey Circle

Let the posts
come to you.

Thanks for submitting!

38691_412329889806_4441092_n.jpg
Meet Marj
Love cardstock, pattern paper, colored pencils, alcohol markers, different types of ink, and paper punches. i try to challenge myself to create new card designs, love cards with shimmer and shine

© 2018 by MarjBanzalesDesigns. Proudly created with Wix.com

bottom of page