top of page

Hello and welcome back my friends! Today, I'm over Joy Clair Designs with a new project to share with you.


Are you going somewhere for the Holidays or just celebrating it at home? Either way just be safe and enjoy yourself with your loved ones.


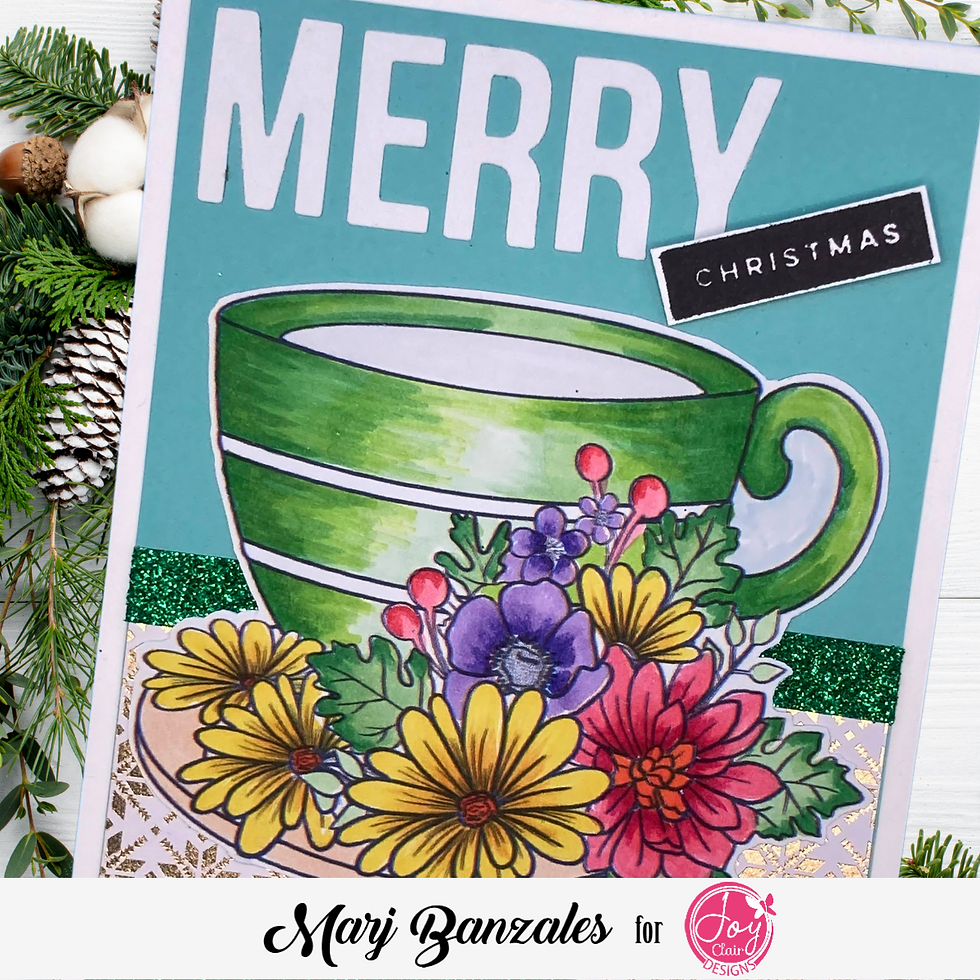
For my project, I used the Cup of Joy Digital stamp, colored using Arteza Ever Blend Ultra Art Markers and fussy cut them.


To get all the details on how I made this card, don't forget to visit Joy Clair's Blog here.


Thank you all for stopping by and I'll see you on my next post.


Wishing you all a very Merry Christmas and a Safe New Year!!!


XOXO

Marj

Hello friends! I'm back on Joy Clair's Blog today for another project inspiration to share with you.


It's the Holiday season so maybe you are still looking for some more inspiration and here's one I made for you. I used the Christmas Joy Digital Stamp Set.


To get all the details about my card you can visit Joy Clair's Blog here.


Here's a few photos of my project:


For more project inspiration, please subscribe to my Blog. You can also follow me on Instagram, Facebook, Twitter, and Pinterest.


Thank you for stopping by and I'll see you again next time!


Stay Crafty,

Marj

Hi friends! Are you getting for the Holidays? How's the weather in your area? Is it snowing already? Well, at least you'll have a white Christmas then.

Today's project inspiration is snother Digital stamp from Stampers Delights. This is such a fun scene and I'm glad I chose this stamp and it's called Xmas Scene.


Step by tep on how I made this card:

  1. Trim a piece of blue cardstock to 4.25 by 5.5 inches.

  2. Cut a piece of pattern paper to 4 x 5.25 inches and attach it to the card front using strong glue.

  3. Print the digital image to white cardstock.

  4. Colored using Arteza Ever Bled Ultra Art Markers and fussy cut leaving a narrow border and attache to the card front using strong glue.

  5. Highlight the hair using Arteza Colored pencils.

  6. Cut the sentiment and layer it to the blue cardstock. Attach on the upper left of the card front using double sided tape.

  7. Using a white gel pen, I added it all over the card that looks like it is snowing.

Thank you for stopping by and I hope what I made today.


Don't forget to follow me on Instagram, Twitter, Pinterest, and Facebook. Also, subscribe here as well so you won't miss anything.


Stay crafty and safe,

Marj


Challenges:


logo-firma.png
  • Instagram - Grey Circle

Let the posts
come to you.

Thanks for submitting!

38691_412329889806_4441092_n.jpg
Meet Marj
Love cardstock, pattern paper, colored pencils, alcohol markers, different types of ink, and paper punches. i try to challenge myself to create new card designs, love cards with shimmer and shine

© 2018 by MarjBanzalesDesigns. Proudly created with Wix.com

bottom of page