top of page

Hello friends! Hope you all are doing fine. Marj here for another blog post over TLC Designs.


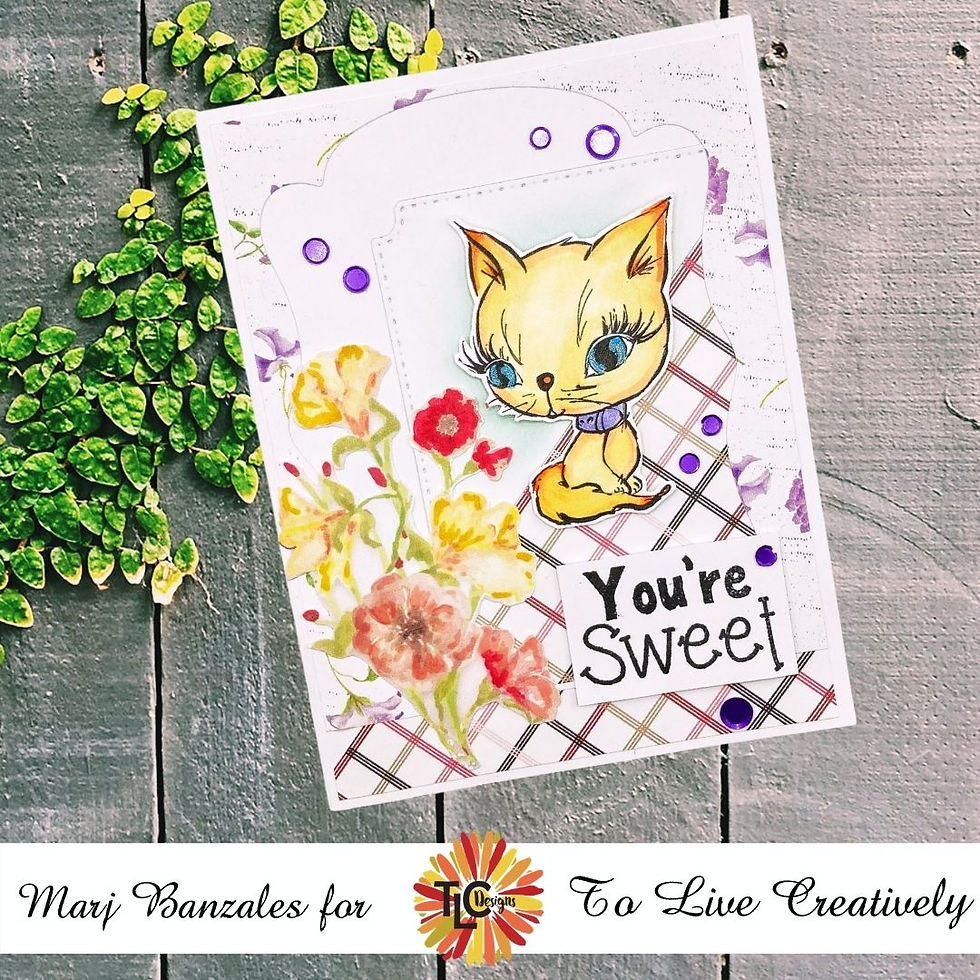
Today's project is one of my favorite stamp, Kitty Gems. She is so adorable and can be partnered with any of the Designer papers. TLC Designs has a lot of Designer Papers and they are all beautiful. For my project, I used several papers such as Sun Shiny Slimline Stock Paper and Something Bloomed Slimline Stock Paper. I also used Scalloped Rectangle Die and Celebrate Ribbon Dies. For my sentiment, I used the Celebrate Stamp.


Here's a photo of my project today.


Don't forget to visit TLC Designs to get more details on how I made this card.


Thank you for stopping by and I'll see you again next time.


You can also follow me on my Instagram, Facebook, Twitter, and Pinterest.


XOXO

Marj

Hello friends! Today, I'm over TLC Designs Blog sharing this another project inspiration that I created using several products. If you would like to know how I made the card, please head over to TLC Designs Blog here.


For today's project, I used the Kitten Gems for my main image. I also used Something Bloomed Digital Paper and Sincerely Yours Digital Paper for the background. Then, used See You In The Center Die and Loving Petals Square to die cut some papers. To finish it off, I used the Celebrate Stamp for the sentiment.


Here's a video I made and the products I used.


Thank you for stopping by and I'll see you again next time.


XOXO

Marj

Hello, lovelies! I'm glad you're here again. Today, I have another project to share with you using one of the latest digital images from TLC Designs. This image is in a bundle with our new Sketch Challenge for this month and as always it's a half prize so better check it out.


Come check out some photos of my project.


Here are some details on how I made this card:

  1. Print, color, and fussy the Snow Buddies Digital Image onto white cardstock leaving a white border on all sides.

  2. Using Apple A Day Die metal die the smallest one, die-cut from the Watercolor Natural Slimline Paper.

  3. Cut a piece of Snowy Skies Slimline Paper as another layer or dimension for the card.

  4. Cut another piece of 4" x 5.25" from the Watercolor Naturals Slimline Paper as a card panel.

  5. Score a piece of the white notecard that measures 4.25" x 5.5" as the card base.

  6. Adhere the card panel onto the card blank, add the next layer using strong glue.

  7. Using some double-sided tape, adhere the die-cut to the front left of the card, then add the Snow Buddies Digital Image.

  8. Added the sentiment on the right side of the card.


See below the video I made for my project:


I hope you like what I made and check out the challenge over at TLC Designs.


Thank you for stopping and see you again next time.


XOXO

Marj


logo-firma.png
  • Instagram - Grey Circle

Let the posts
come to you.

Thanks for submitting!

38691_412329889806_4441092_n.jpg
Meet Marj
Love cardstock, pattern paper, colored pencils, alcohol markers, different types of ink, and paper punches. i try to challenge myself to create new card designs, love cards with shimmer and shine

© 2018 by MarjBanzalesDesigns. Proudly created with Wix.com

bottom of page